Your laptop has started to lag, overheat, and make noise? These are all sure signs that dust has accumulated inside and it’s time to give your device some care. Let’s find out where dust tends to build up the most in a laptop and figure out how to safely clean the device yourself.
Is It Safe to Clean a Laptop on Your Own?
Cleaning a laptop from dust at home is a completely manageable task that can be done as easily as learning poker basics yourself via https://blog.playamo.com with no external help, and it will extend the device’s lifespan and improve its performance. The main thing is to approach the process attentively and without rushing.
What you should know before getting started:
- Device preparation — be sure to turn off the laptop and unplug the charger. This basic electrical safety rule protects both you and the device.
- Warranty preservation — if the device is still under warranty, a full disassembly may void the warranty. In this case, limit yourself to surface cleaning.
- Keyboard cleaning — it’s best not to remove the keys unless absolutely necessary. Modern keyboards have fragile fasteners that are easy to damage.
- Handling with care — the internal components of a laptop are quite sensitive. Sudden movements can damage cables, connectors, or lead to the loss of small parts.
How to Clean a Laptop from Dust Yourself
External Dust Cleaning
Perhaps the safest method, suitable even for beginners. For this, you’ll need a can of compressed air. Follow these simple steps:
- Disconnect the laptop from the power source.
- Aim the nozzle of the can at the ventilation holes and give a few short bursts inside. Ventilation holes are the grilles or slits through which the laptop cools. They are usually located on the side edges, back, or bottom of the device.
- Let the laptop dry for a couple of hours. The moisture will evaporate, and the device can be used again.
Keyboard Cleaning
A small USB vacuum or a car vacuum with a thin attachment is suitable for cleaning the keyboard. To remove grime from the keys, use an office eraser.
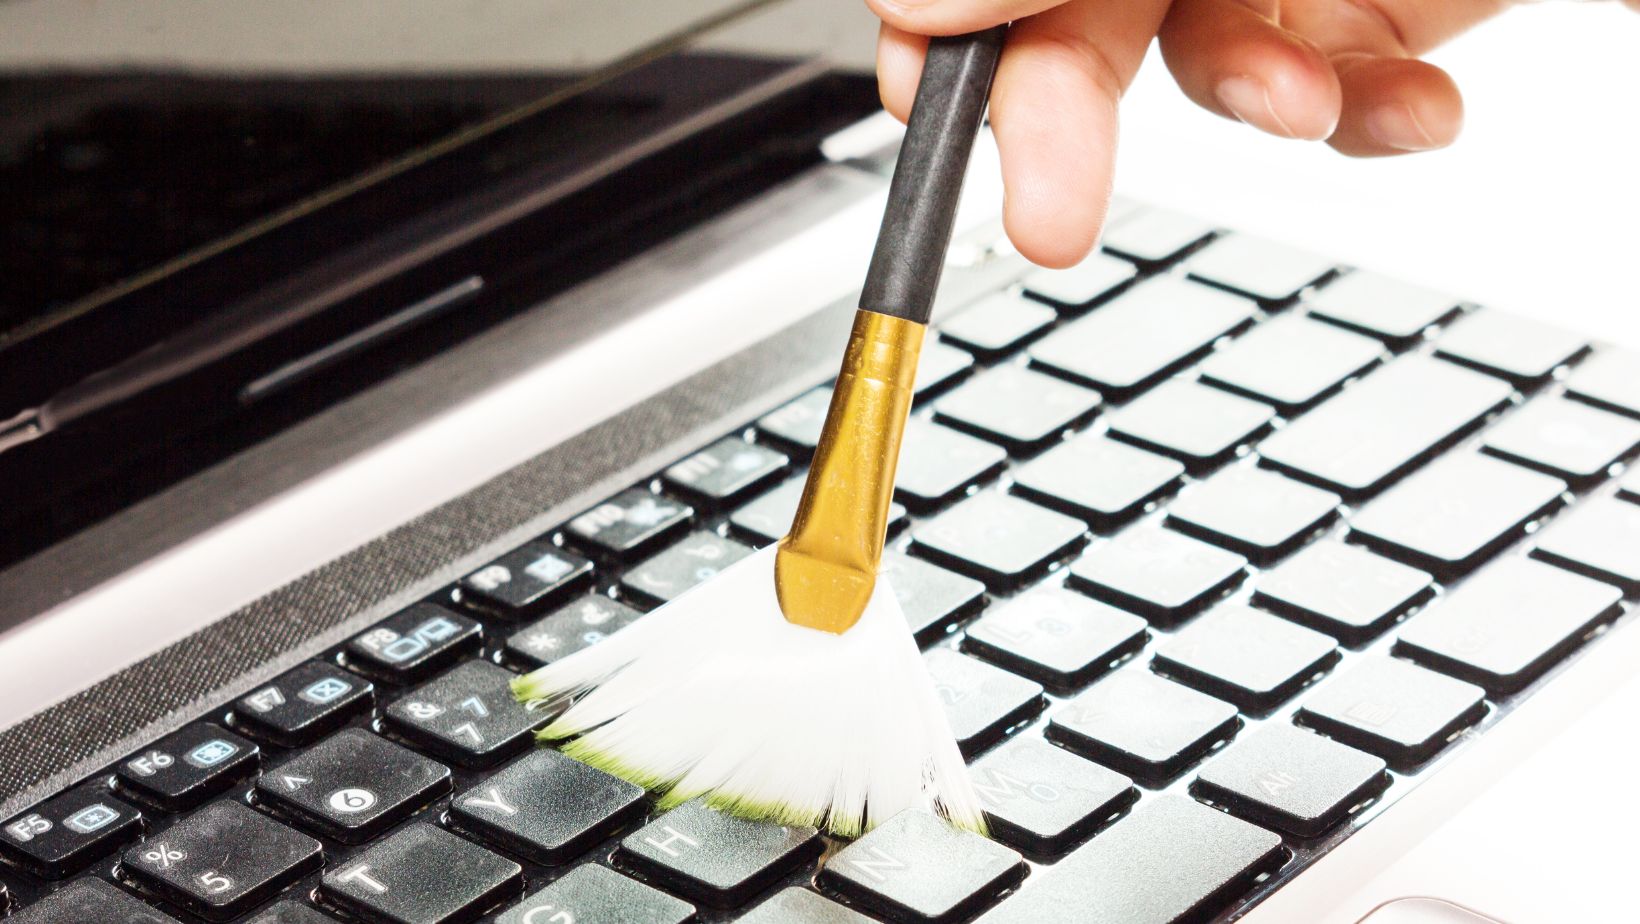
For the most hard-to-reach areas — in the crevices and port zones — use slightly moistened cotton swabs dipped in alcohol.
How to Clean a Laptop from Dust Inside
This requires even more care, but the result is definitely worth it. Accumulated dust not only hinders the device’s cooling but can also lead to overheating of the processor and graphics card. To extend the gadget’s lifespan and maintain performance, clean the laptop from dust internally once a year.
Tools you’ll need:
- A small Phillips screwdriver with a magnetic tip
- Tweezers
- A soft, fluffy brush
- A vacuum with a narrow attachment
- A couple of wet and dry wipes
- A plastic card
Follow the instructions:
- Turn off the device and disconnect it from power.
- Flip the gadget over and remove the battery. Removable batteries are secured with latches, while non-removable ones will require removing the back cover.
- Unscrew the laptop cover. This is where the screwdriver comes in. Simply unscrew the screws and place them in a small jar to avoid losing them. Then, use a plastic card to pry off the cover and release it from the fasteners.
- Disconnect the battery if it’s non-removable. Look for a thin cable, a flat black ribbon. Grasp the plastic connector and gently disconnect it from the motherboard socket.
- Blow out the dust with compressed air from the can. Target the fan radiators, hard-to-reach areas, and the entire board in general. Aim the nozzle away from the board. Direct the airflow at the fans at an angle, in short bursts.
- Leave the laptop in a warm, dry place for a couple of hours. This will allow any water vapor formed during the use of the can to evaporate.
- Reassemble the device. Reconnect the battery, reattach the cover, and screw all the screws back in reverse order. If the battery is non-removable, don’t forget to reattach the cable.
What should you pay attention to during cleaning?
- Memorize or take a photo of the screw arrangement — they may vary in length.
- Avoid touching the contacts and microchips.
- Work in a well-lit room.